A smart business will run a scheduled backup of their website daily, weekly, and monthly and keep a copy offsite to ensure 100% redundancy. As well as scheduled backups there are other times when you should be taking a website backup. Typically cPanel is used to take WordPress website backups immediately before:
- Transferring a website to a new hosting company,
- running WordPress core and plugin updates,
- or working on the website files or database
CPanel software is virtually a standard setup with most website hosting accounts. This article will show you how to take a website backup using cPanel which is an extremely simple process!
- The first thing you need to do is log into your cPanel account, by navigating to www.mysite.com/cpanel. The login details will be in the welcome email from your hosting provider, or you may need to contact your website designer.
- Once logged in, you’ll see the ‘Files’ section on the cPanel home page. Click on the ‘Backup Wizard’.

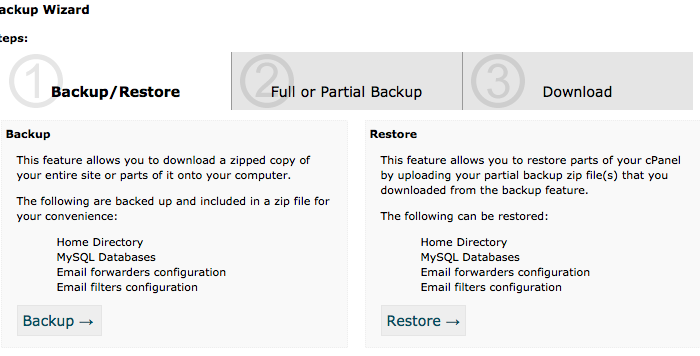
- You will be presented with two options, backup or restore. Click the backup button to see the screen below.From here we have 2 options, we can take a ‘Full Backup’ or backup the website files (Home Directory), MySQL Database, and email forwarders as partial, or separate backups. We’re going to take partial backups in this post.
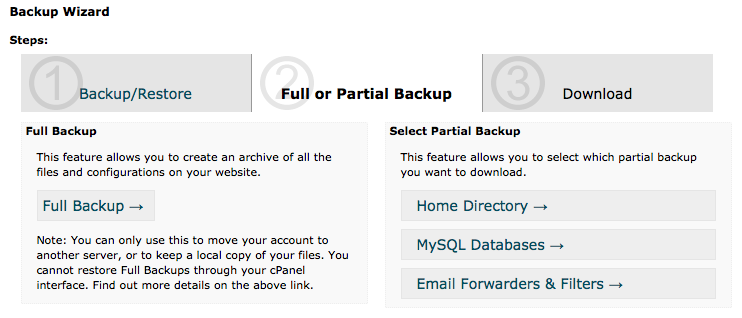
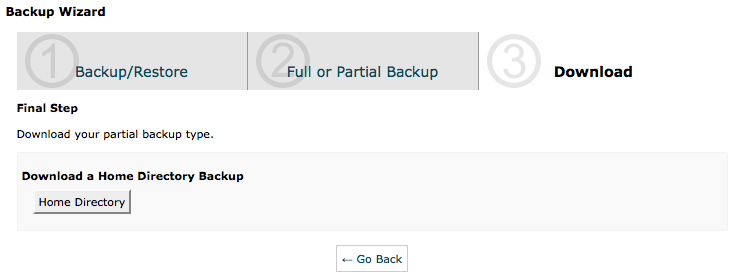
- Click ‘Home Directory’ to be presented with the following screen. Click on the ‘Home Directory’ button on this screen to start downloading a copy of all the files in your website.
Depending on the size of your website, this could take quite a while, so while it’s doing its thing, we can go start the other partial backups.
Click the ‘Go Back’ button to return to the previous screen.
- The next step is to backup your website database(s). So click on ‘MySQL Databases’ to be presented with the next screen. For each database listed on this screen, click on the link to begin downloading its contents to your computer.
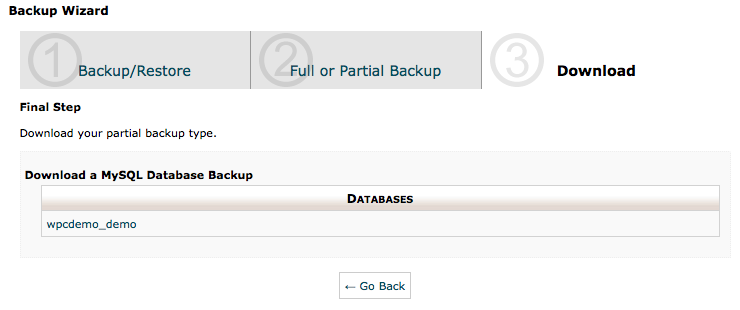 When you’re done, you can click the ‘Go Back’ button again.
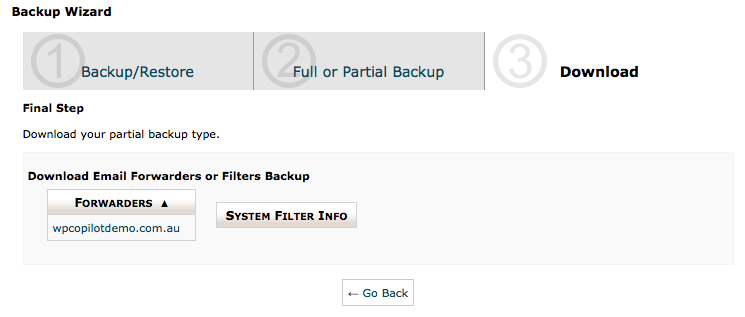
 - The next step is to click on ‘Email Forwarders & Filters’ in the Backup Wizard. You’ll be presented with the screen below.
This screen has two lists split into sections. ‘Forwarders’ and ‘System Filter Info’, with downloadable link(s) for each. Don’t worry if there are no links, this just means no email forwarders or system filters have been setup.
Click on each link to download them to your computer and you’re done.
 Make sure you save each of the backups in this tutorial to a single folder, preferably labelled with the current date. You can then zip the entire folder to save space if you wish, and archive it away somewhere safe (like an external USB or hard drive) for future use.
It may seem somewhat counter intuitive to download the individual partial backups when it would simpler to get your whole site backed up in one go via the ‘Full Backup’ option. However, when restoring a website backup using cPanel, this is the best option for fast disaster recovery as it allows you to easily & quickly restore files or the database separately.







No Comment
You can post first response comment.